Configure GitHub for Plane integration Pro
This guide walks you through setting up a GitHub App to enable GitHub integration for your Plane workspace on a self-hosted instance. Since self-hosted environments don’t come pre-configured for GitHub, you’ll need to set up the necessary authentication, permissions, and webhooks to ensure smooth integration.
This guide covers configuration for both:
GitHub Cloud The standard cloud-hosted GitHub service
GitHub Enterprise Server Self-hosted GitHub instances for organizations with specific compliance or security requirements
In this guide, you’ll:
WARNING
Activate GitHub integration
After creating and configuring the GitHub app and configuring the instance as detailed on this page, you'll need to setup the GitHub integration within Plane.
Create GitHub App
To configure GitHub integration, you'll need to create a GitHub App within your organization.
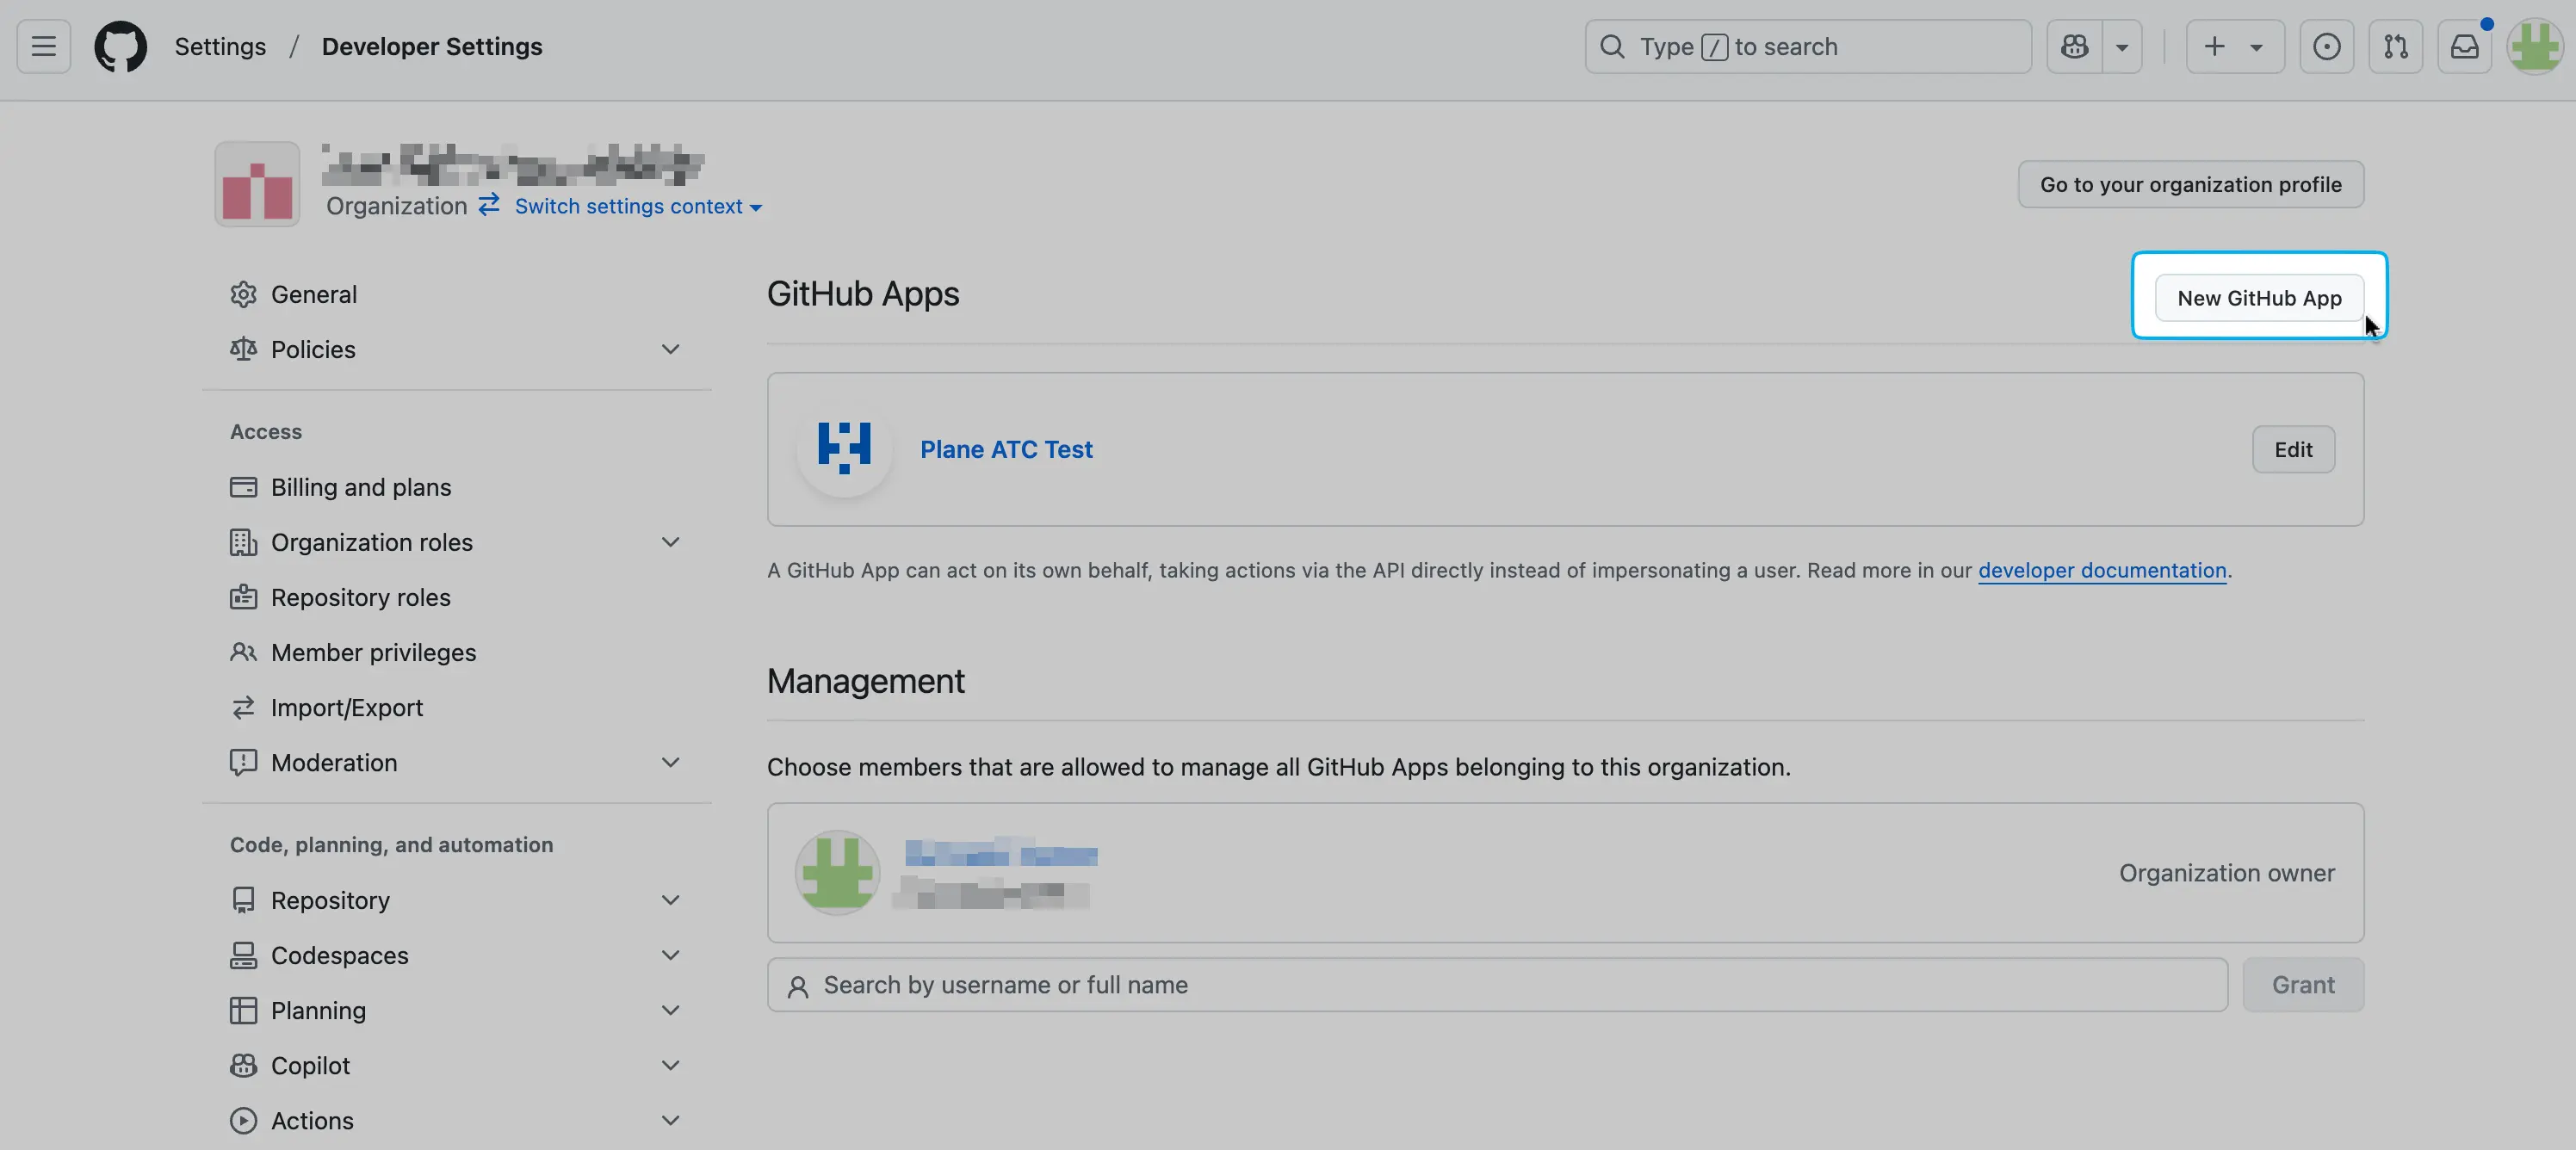
Go to Settings > Developer Settings > GitHub Apps in your GitHub organization.
Click New GitHub App.
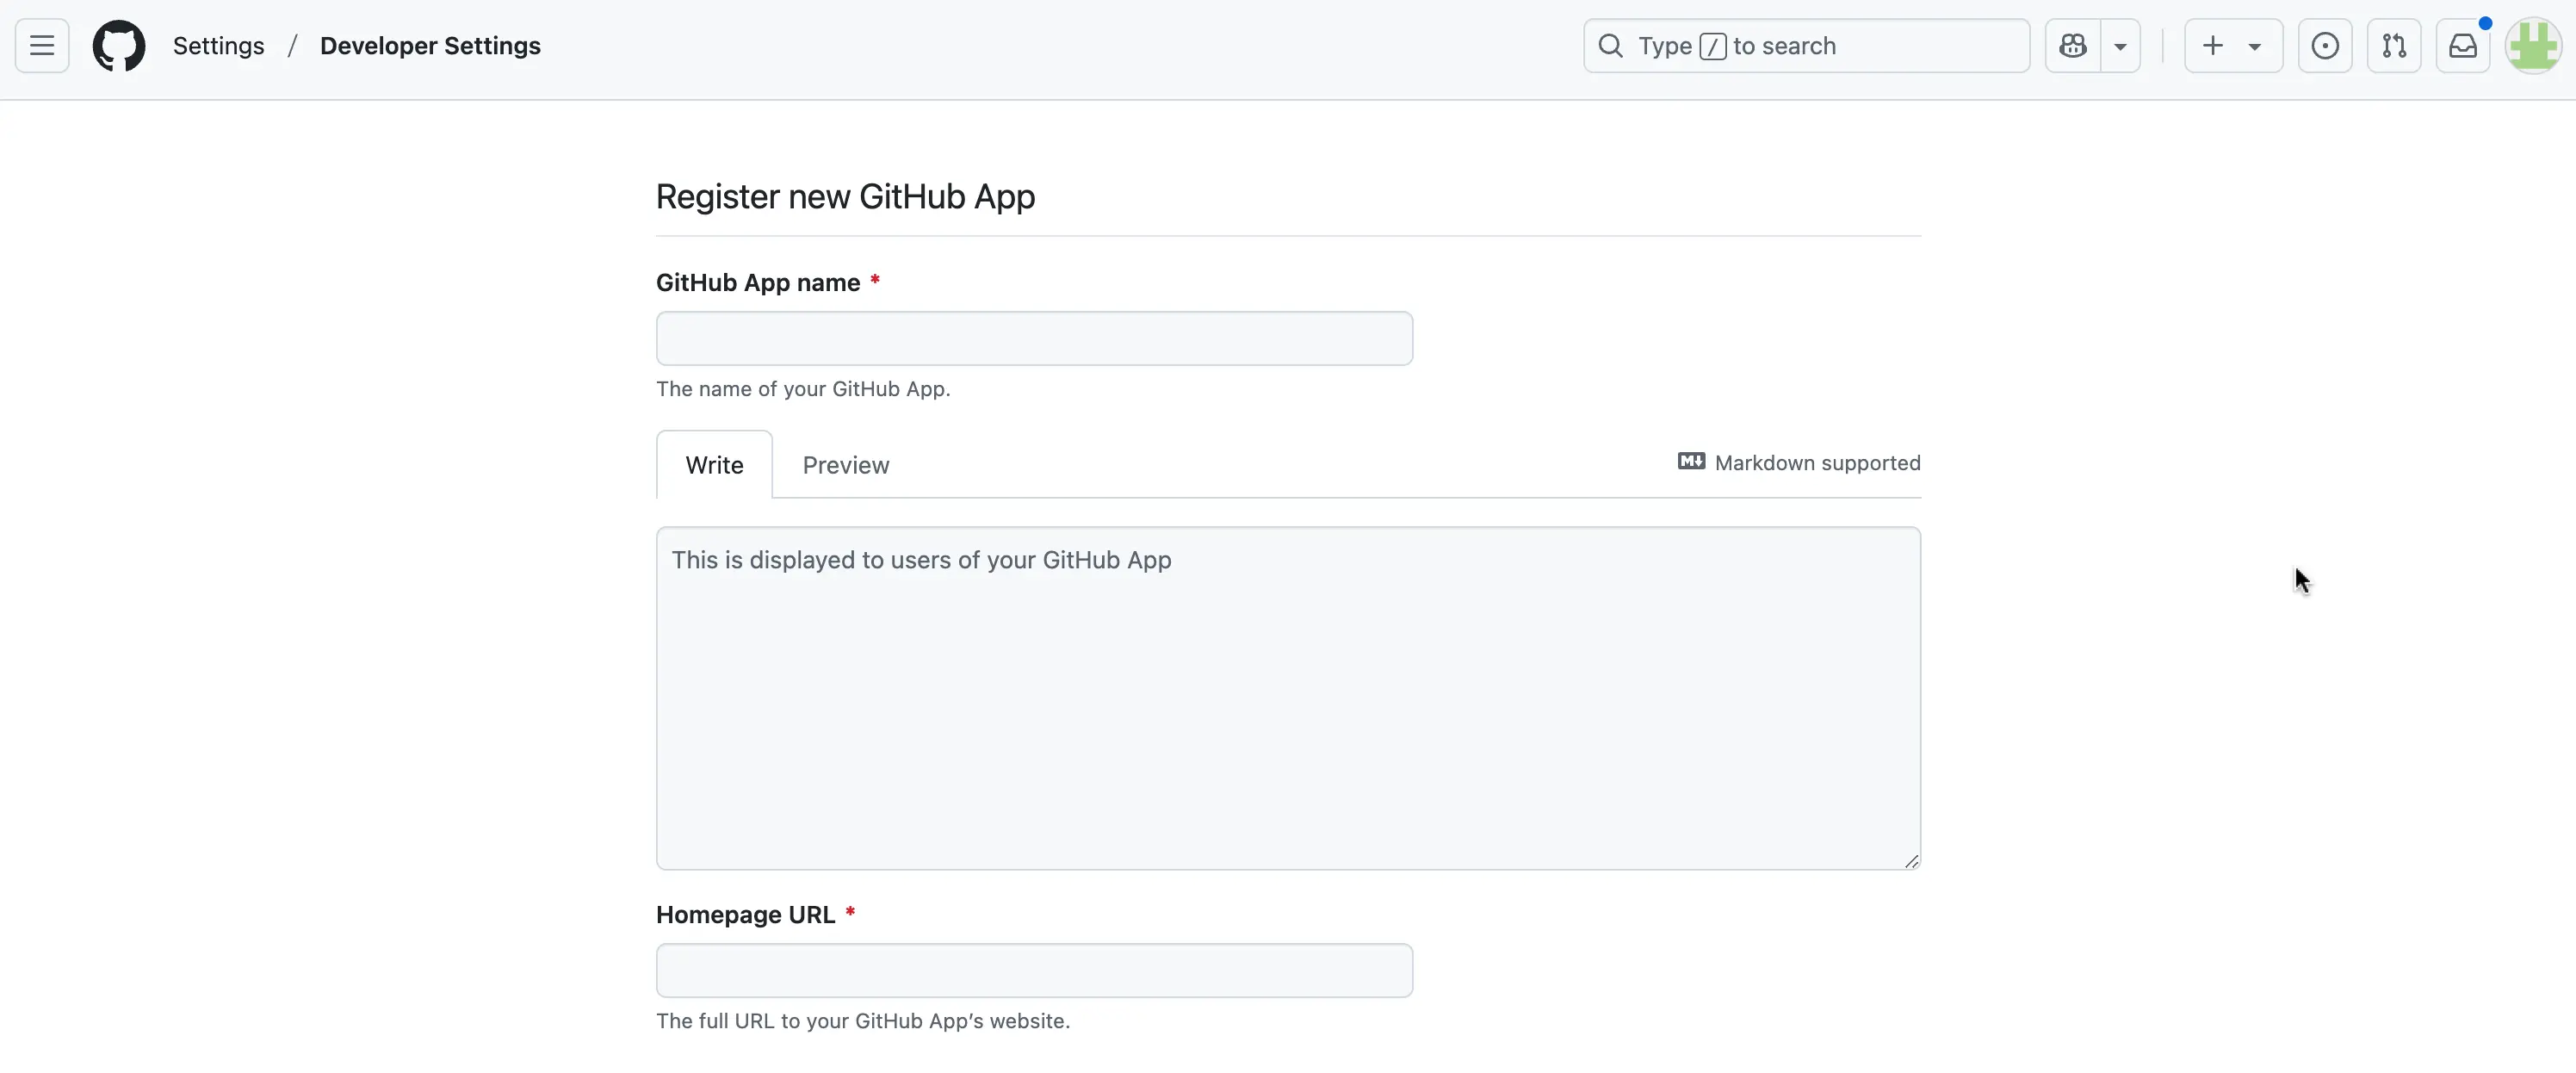
In the Register new GitHub App page, provide a GitHub App name and Homepage URL.
In the Identifying and authorizing users section, add the following Callback URLS.
bashhttps://<your-domain>/silo/api/github/auth/callback https://<your-domain>/silo/api/github/auth/user/callbackThese URLs allow Plane to verify and enable workspace connection with the Github App.

In the Post installation section, add the below Setup URL.
bashhttps://<your-domain>/silo/api/github/auth/callbackRedirects users to this URL after GitHub app installation.

Turn on Redirect on update.
In the Webhook section, add the below Webhook URL.
bashhttps://<your-domain>/silo/api/github/github-webhookThis allows Plane to receive updates from GitHub repositories.

Set up permissions and events
Add repository and account permissions by setting the Access dropdown next to each permission, as shown in the tables below.
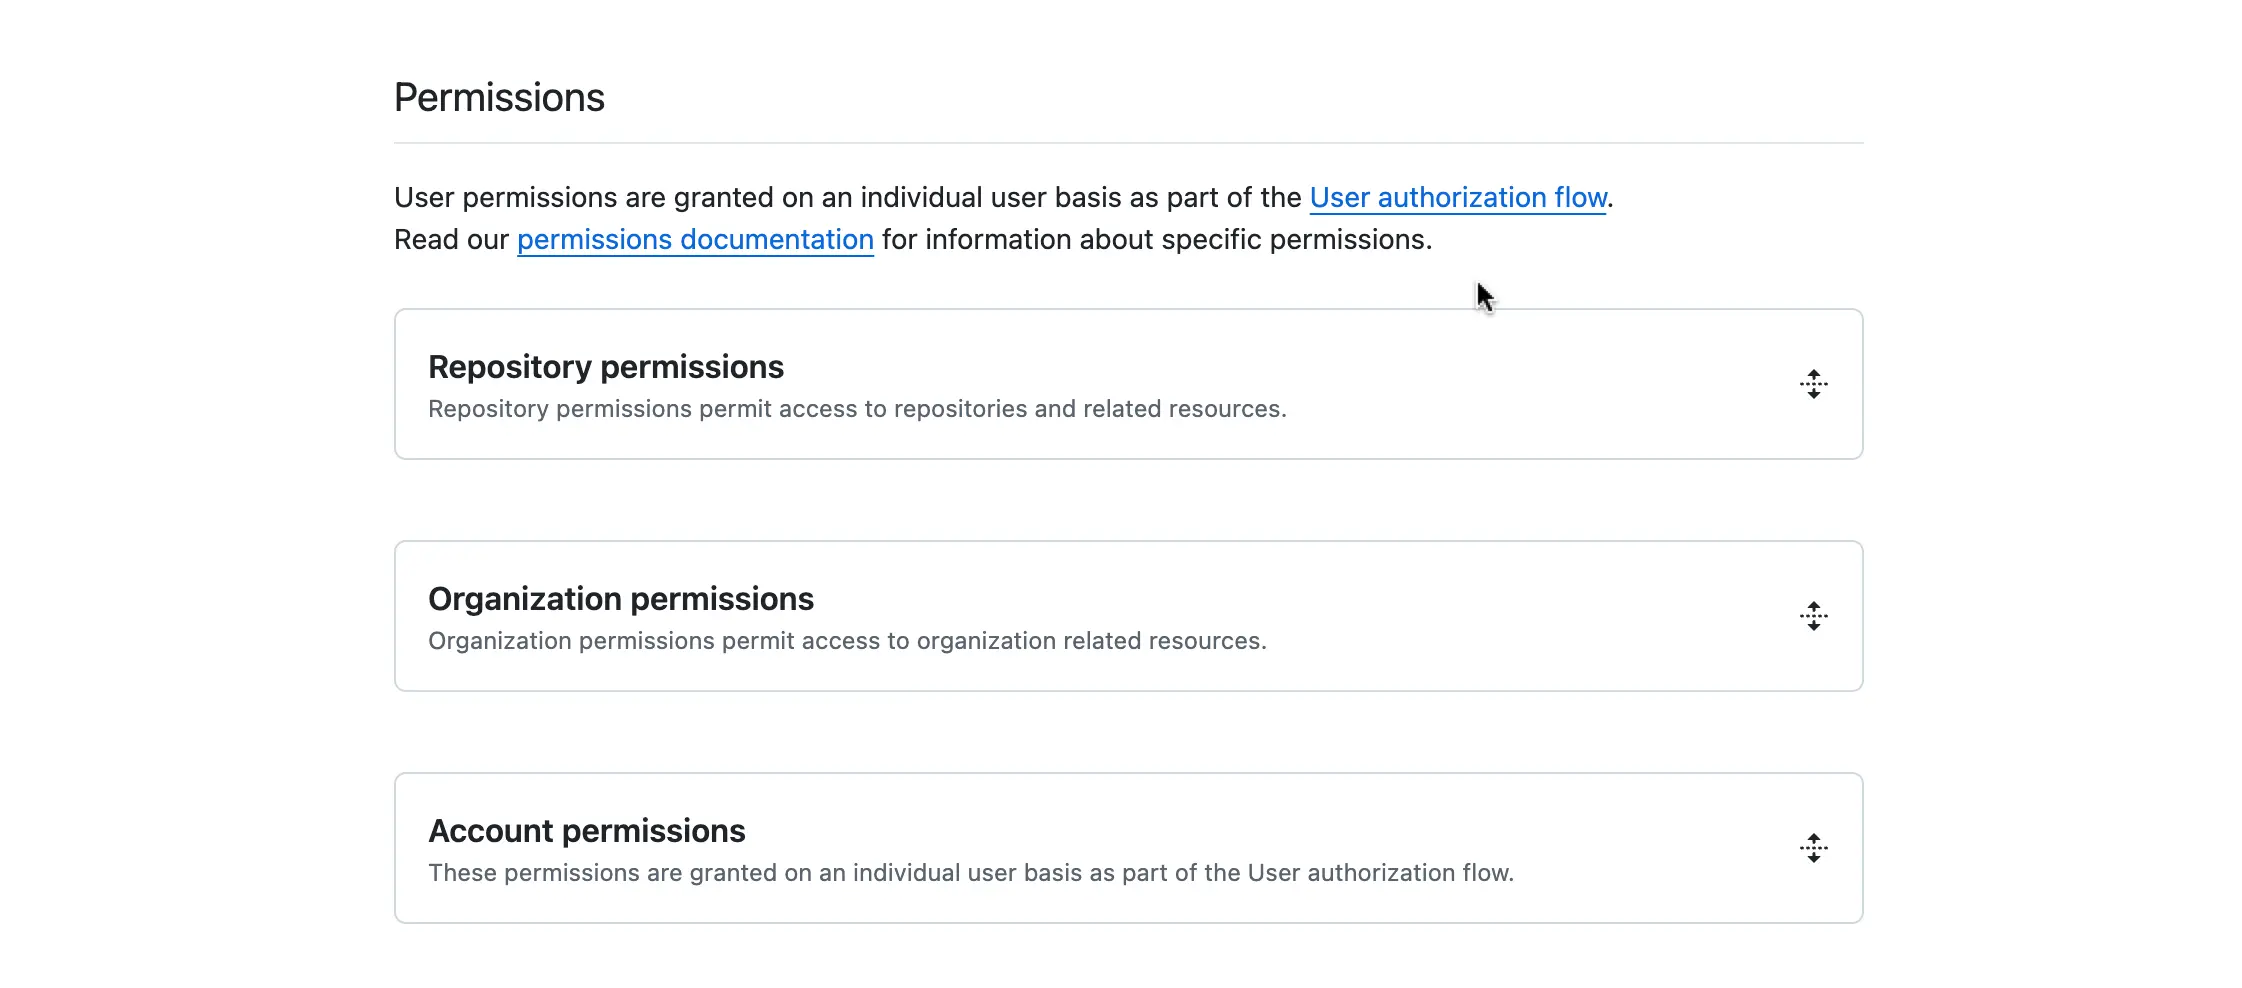
Repository permissions
Permission Access level Purpose Issues Read and write Enables reading, creating, updating, closing, and commenting on issues within the repository. Metadata Read-only Provides read-only access to repository metadata, such as its name, description, and visibility. Pull requests Read and write Allows reading, creating, updating, merging, and commenting on pull requests. Account permissions
Permission Access level Purpose Email addresses Read-only Grants access to users' email addresses, typically for notifications or communication. Profile Read and write Enables access to user profile details like name, username, and avatar. In the Subscribe to events section, turn on all the required events below.
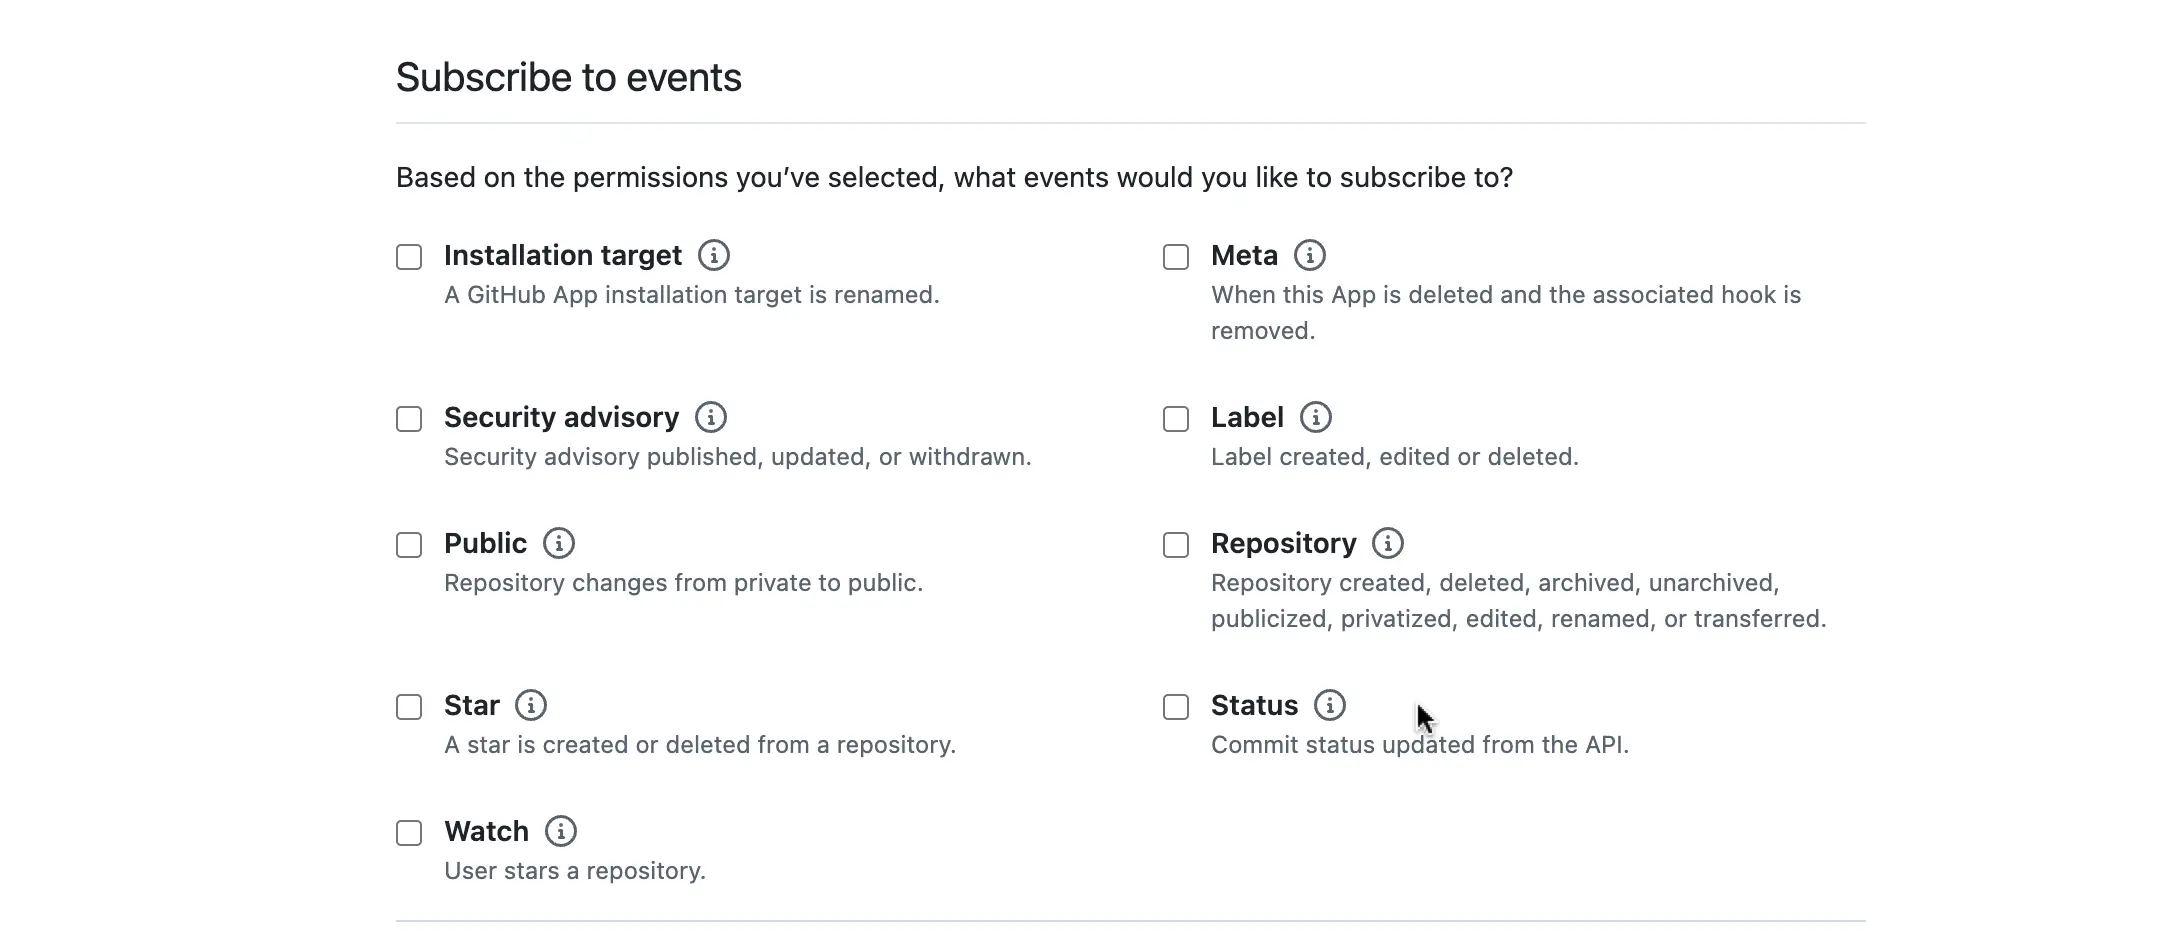
Event Purpose Installation target This is where the repositories or organizations where your GitHub App is installed. This determines which repositories Plane can sync with. Meta Includes metadata about the app's configuration and setup. This is essential for maintaining integration stability. Issue comment Triggers when a comment is added, edited, or deleted on an issue. Useful for keeping comments synced between Plane and GitHub. Issues Triggers when an issue is created, updated, closed, reopened, assigned, labeled, or transferred. Ensures issue status and details remain consistent between Plane and GitHub. Pull request Fires when a pull request is opened, closed, merged, edited, or labeled. Essential for tracking development progress. Pull request review Activates when a review is submitted, edited, or dismissed. Keeps review activities aligned between Plane and GitHub. Pull request review comment Fires when a review comment is added, modified, or removed. Ensures feedback is reflected across both platforms. Pull request review thread Triggers when a review discussion thread is resolved or reopened. Helps maintain visibility on code review discussions. Push Activates when new commits are pushed to a repository. Useful for tracking code updates and changes. Repository sub issues Tracks issues within a repository that are linked to or managed by another issue. Ensures accurate synchronization of related issues. Click the Create GitHub App button at the bottom of the page.
Configure Plane instance
Go back to Settings > Developer Settings > GitHub Apps.
Click Edit on the GitHub you created.
In the General tab, under the Client secrets section, click Generate a new client secret.
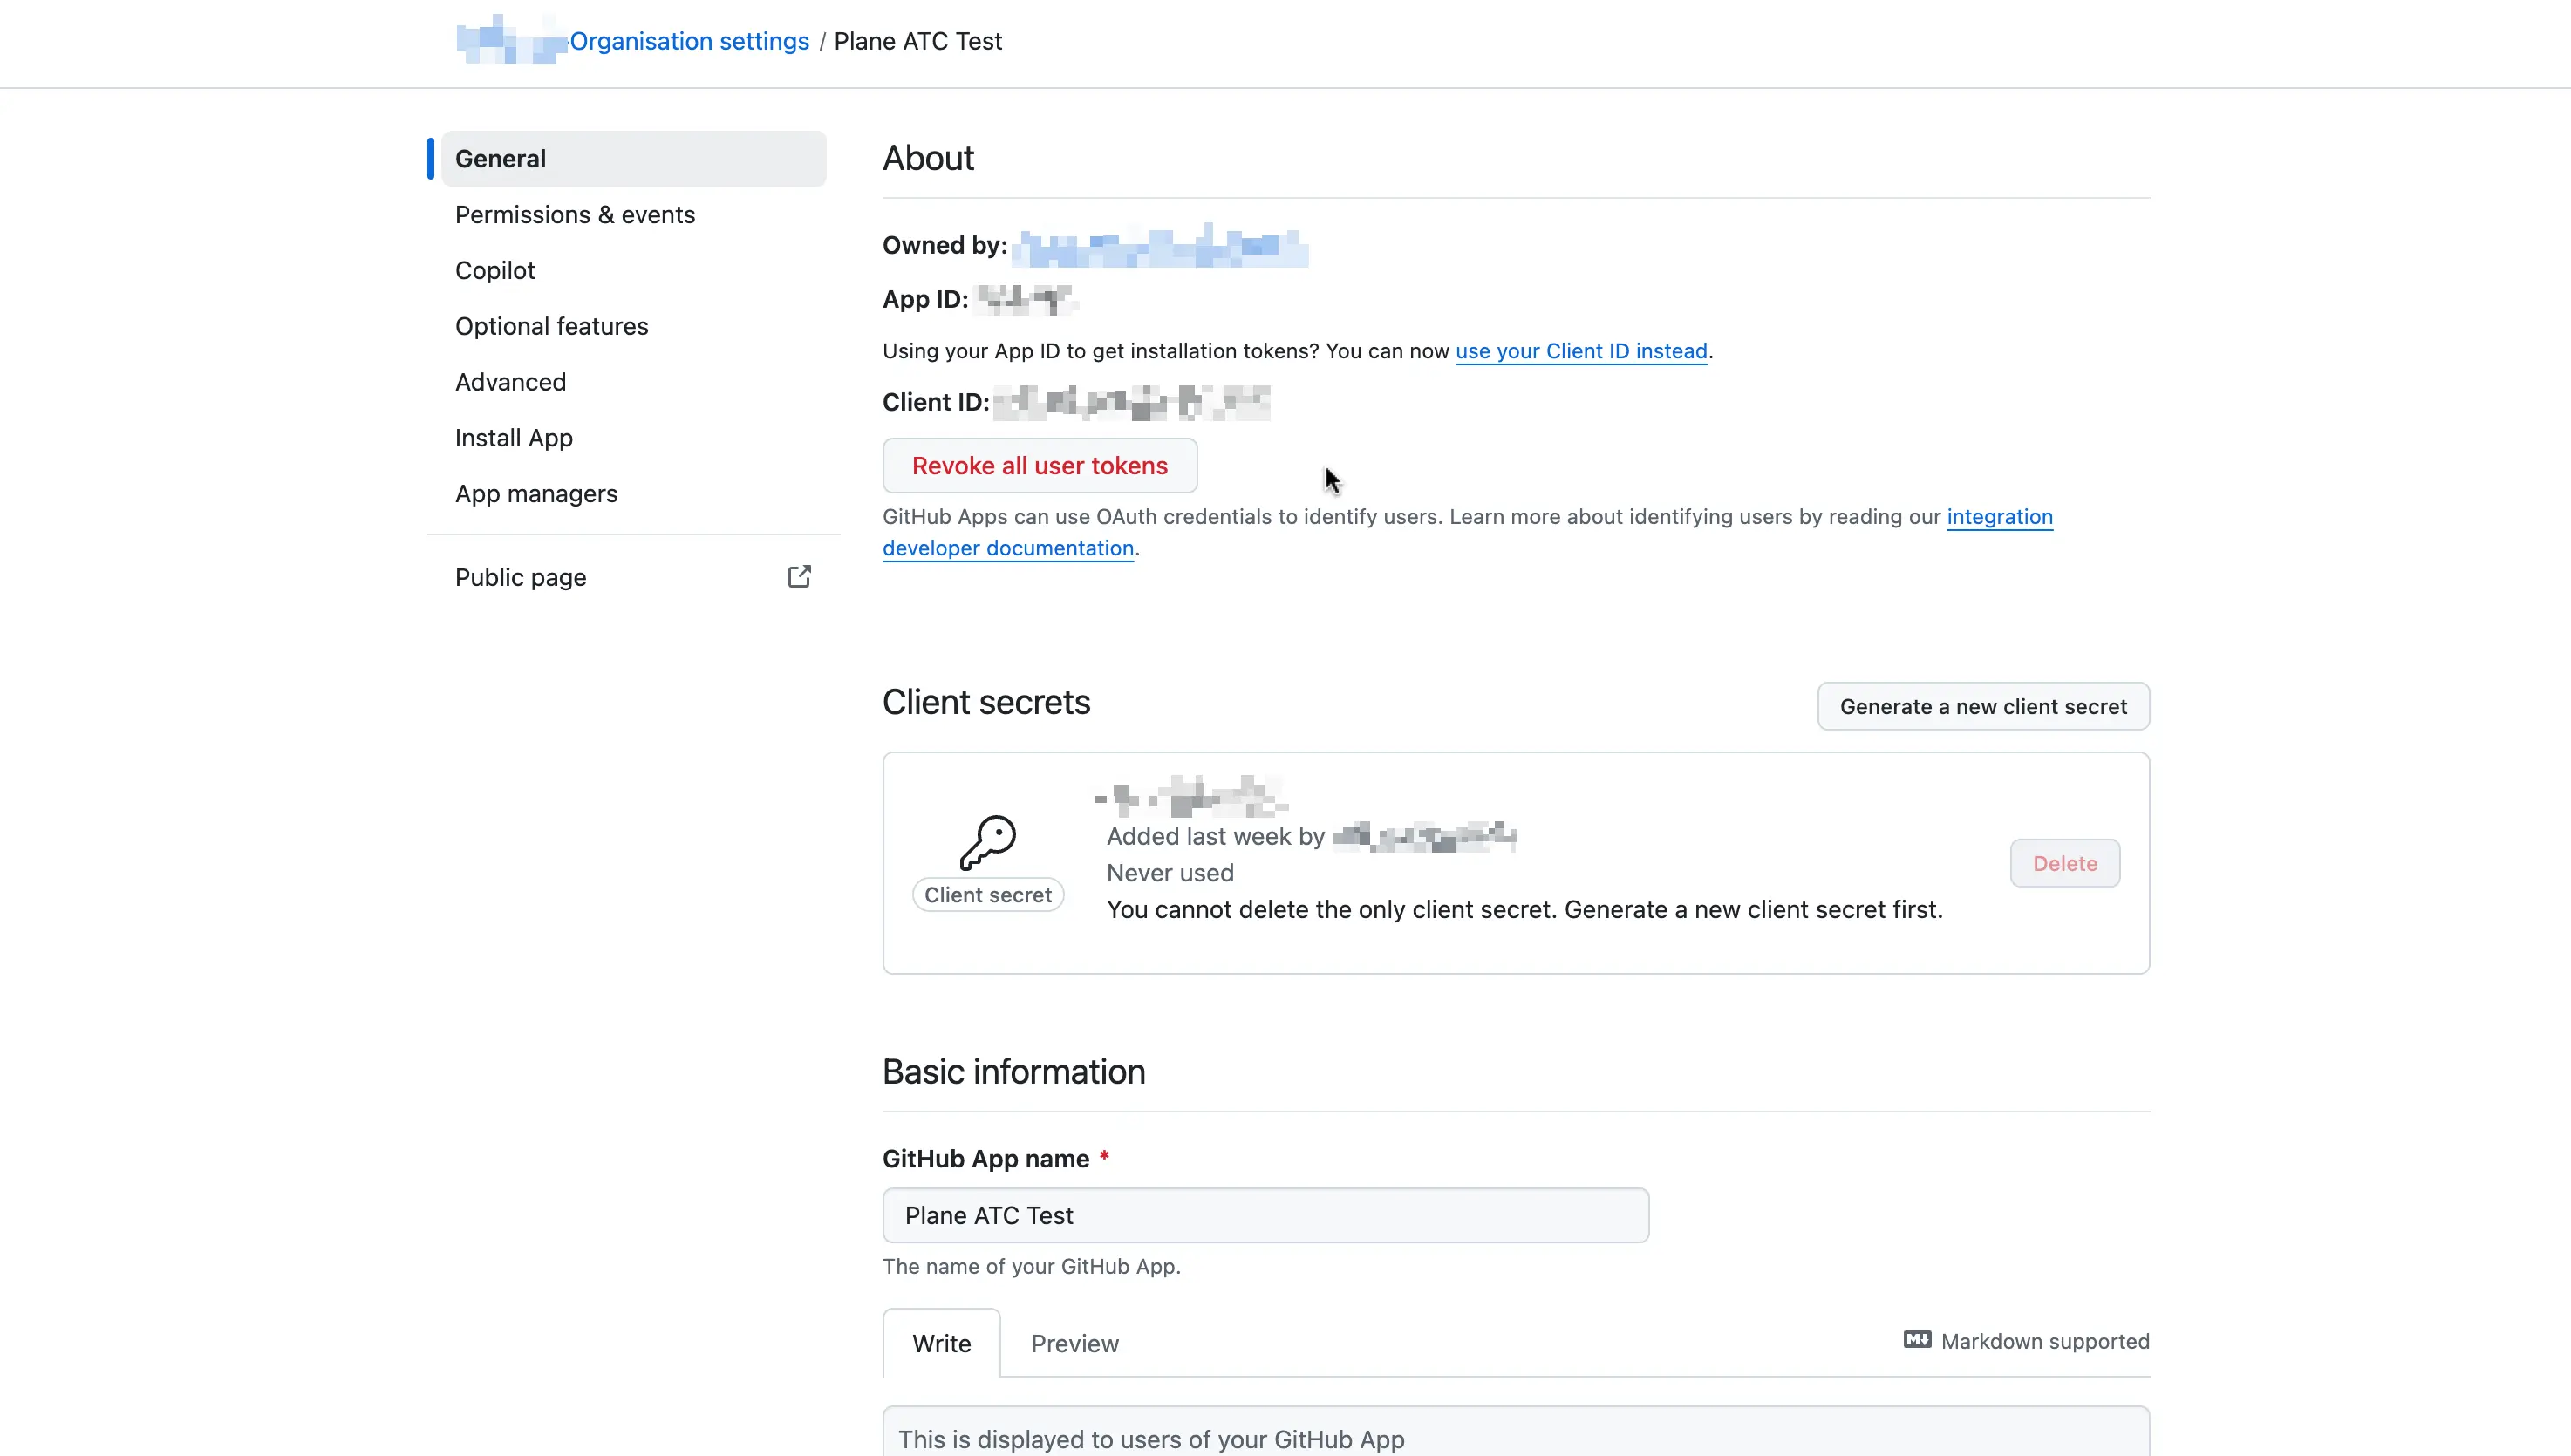
Scroll down to the Private keys section.
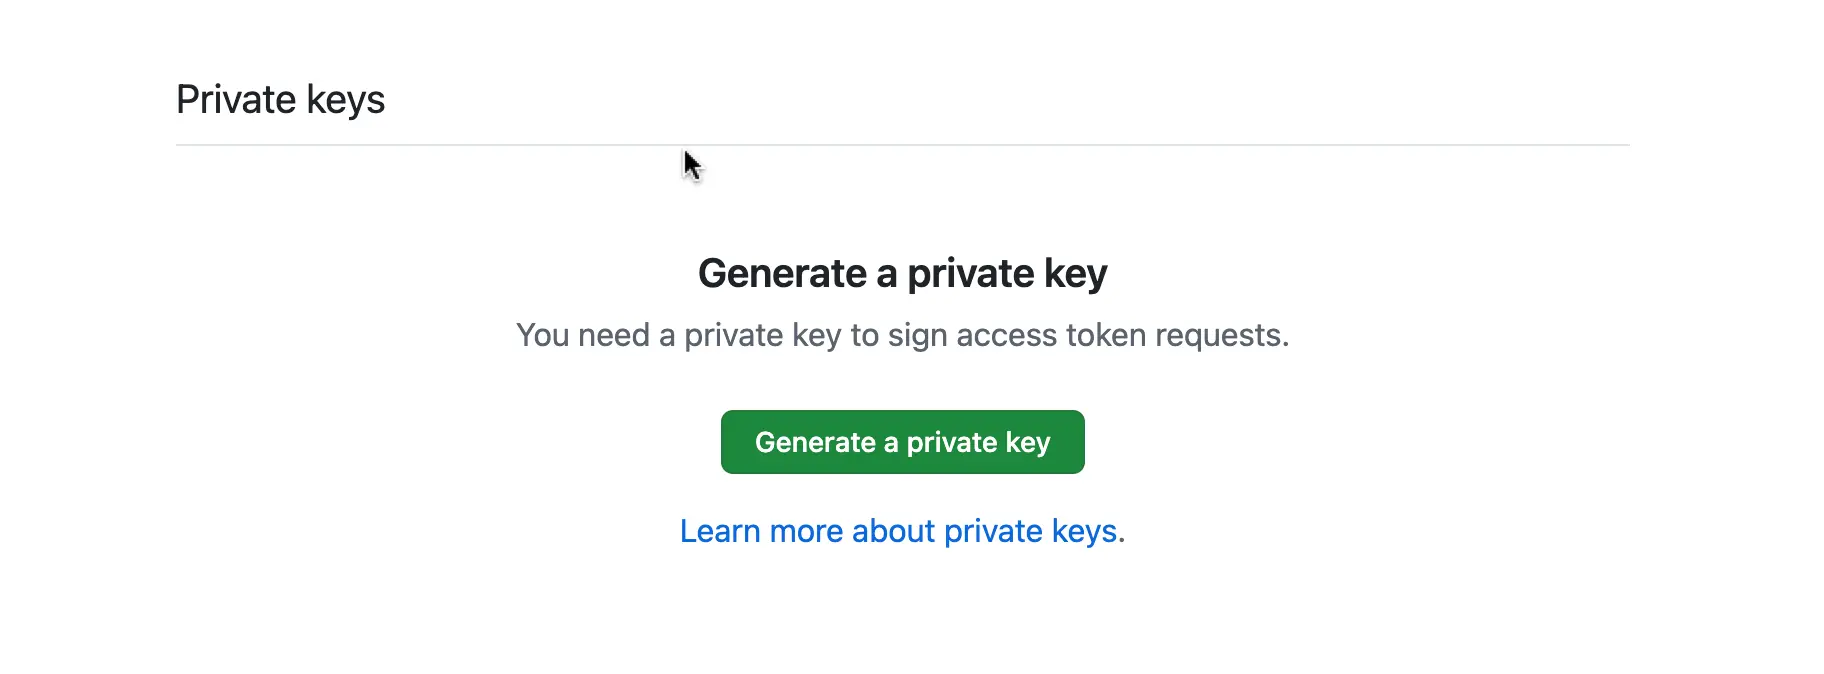
Click Genereate a private key.
Retrieve the following details from the General tab:
- App ID
- Client ID
- Client secret
- GitHub App name
- Private key
Before adding the Private key as an environment variable, you'll need to convert it to base64. Since private keys are typically multi-line, they can cause parsing errors or issues when setting environment variables. To avoid this, run the following command to convert the key to base64:
bashcat private_key.pem | base64 -w 0Add these environment variables with the values to your Plane instance's
.envfile.bashGITHUB_CLIENT_ID=<client_id> GITHUB_CLIENT_SECRET=<client_secret> GITHUB_APP_NAME=<app_name> GITHUB_APP_ID=<app_id> GITHUB_PRIVATE_KEY=<private_key>Save the file and restart the instance.
Once you've completed the instance configuration, activate the GitHub integration in Plane.
Troubleshooting
Invalid private key
This error usually occurs when the private key is not correctly generated. To fix this, follow the below steps.
- Generate a new private key.
- Convert the private key to base64.
cat private_key.pem | base64 -w 0- Add the private key to the
.envfile.
GITHUB_PRIVATE_KEY=<private_key>- Save the file and restart the instance.
Unable to connect GitHub organization account or personal account
This error usually occurs when the callback URL is not correctly configured or the GitHub App is not marked public. To fix this, follow the below steps.
- Check if the callback URL is correctly configured.
- Check if your GitHub App is marked public.
Application secret value not found
This error usually occurs when the application secret is not correctly configured. To fix this, follow the below steps.
- Delete the
plane_app_details_githubkey from redis cache.del plane_app_details_github. - Set the
SILO_BASE_URLin env with plane self hosted url and restart the api server.export SILO_BASE_URL=https://<your-domain> - Run this command in api server shell
python manage.py reset_marketplace_app_secretsto reset the application secrets. - Try to connect again to the organization account to Plane.
Github integration suddenly stopped working after a while
This error usually occurs when the GitHub integration is not correctly configured. To fix this, follow the below steps.
- Make sure you've
opted outof Server Token expiration and reconnect once again to the organization account to Plane. Check in Github App Settings > Optional Features

