

Manage your license
Activation happens once. This page covers what comes after. Pull in a change you made in the Prime portal, change seats or plan, reach the billing portal, release a key, or move a licensed instance to a new server.
Where you do all of this depends on your plan. Pro and Business live in Workspace settings → Billing and plans. Enterprise Grid lives in God mode → Billing. The controls are the same on both screens.
Sync a plan change
Your instance re-checks its license with Plane every 30 minutes, but that check does not always bring a change into the app. Sync plan fetches the current state and shows it right away.
Use it after you renew, change plan, add seats, or fix connectivity. You do not need it as routine maintenance.
- Go to Workspace Settings > Billing and plans, or Billing in God mode.
- Click Sync plan.
The card redraws with your current plan, seat count, and billing period. If the button shows Sync error, the sync failed. On the Commercial Edition that usually means your instance could not reach Plane. On the Airgapped Edition it means the license file could not be read. See License errors.
Add or remove seats
Seats come from roles, not headcount. Owners, Admins and Members each consume a paid seat, Guests are free up to five per paid seat, and Enterprise Grid counts every user account on the instance with no Guest allowance. Pending invitations count as seats too. The app refuses an invitation that would go past your seats, so add seats first. How seats are counted has the details.
Add seats
Go to Workspace settings → Billing and plans, or Billing in God mode.
Click Manage seats, then Add seats.
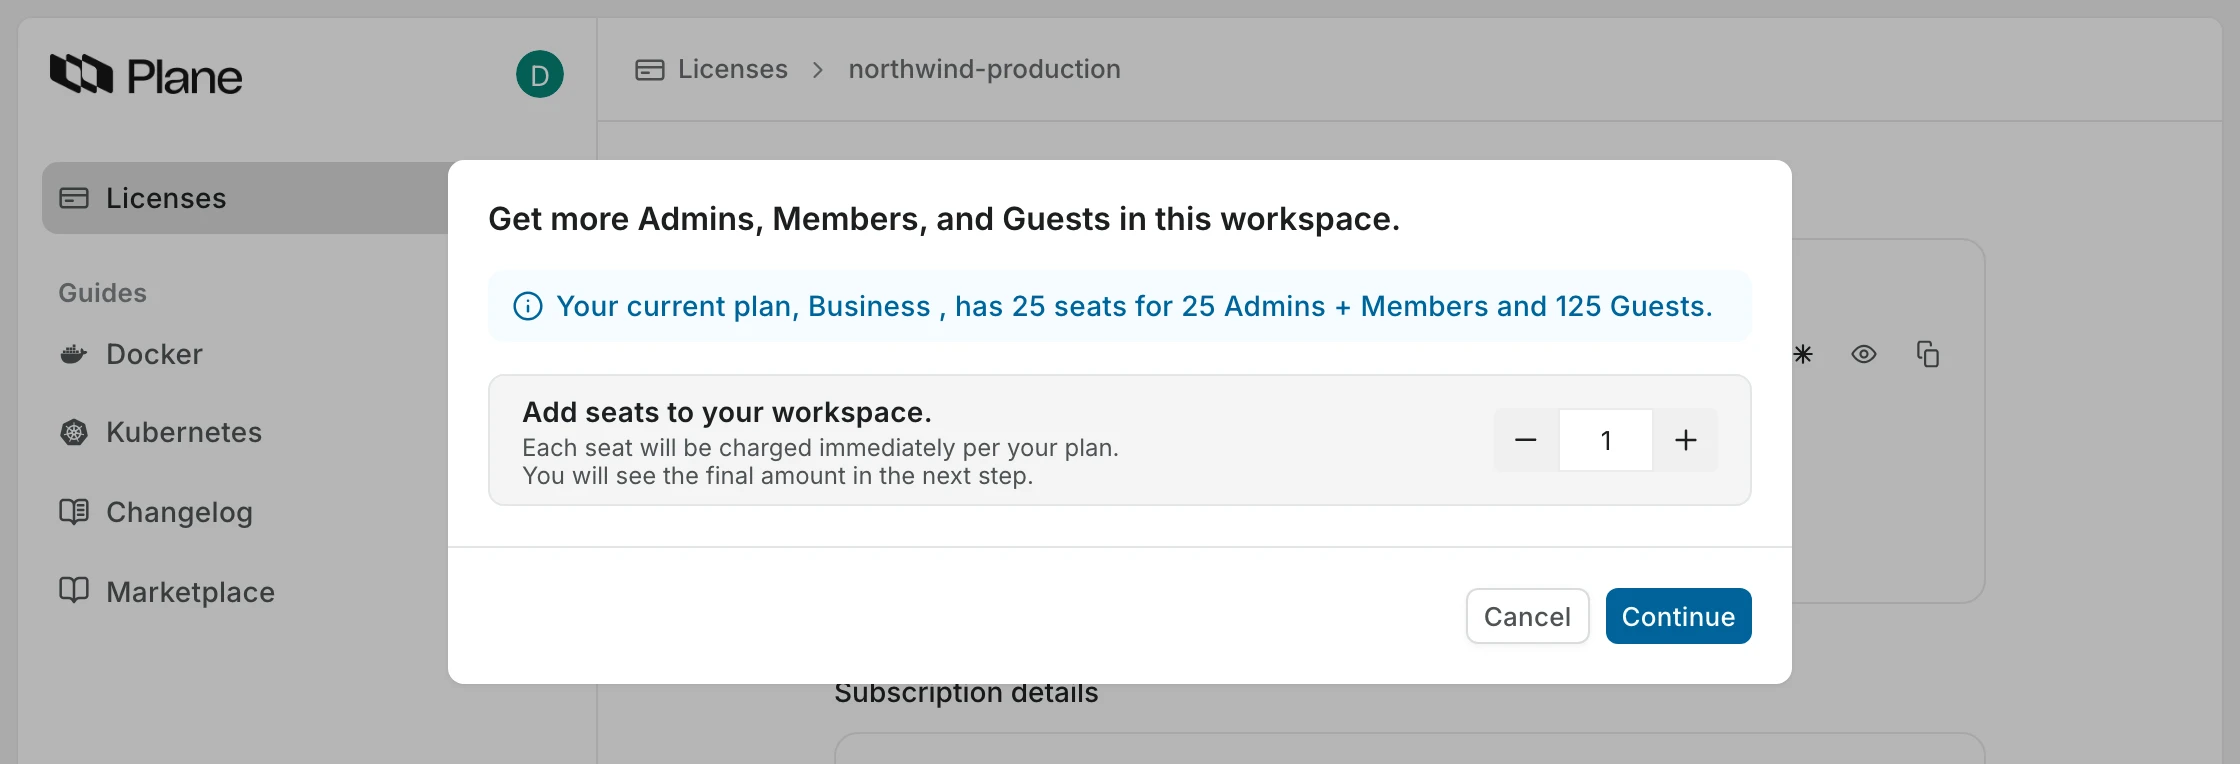
Set how many seats to add. The banner at the top of the modal tells you what your plan covers today.
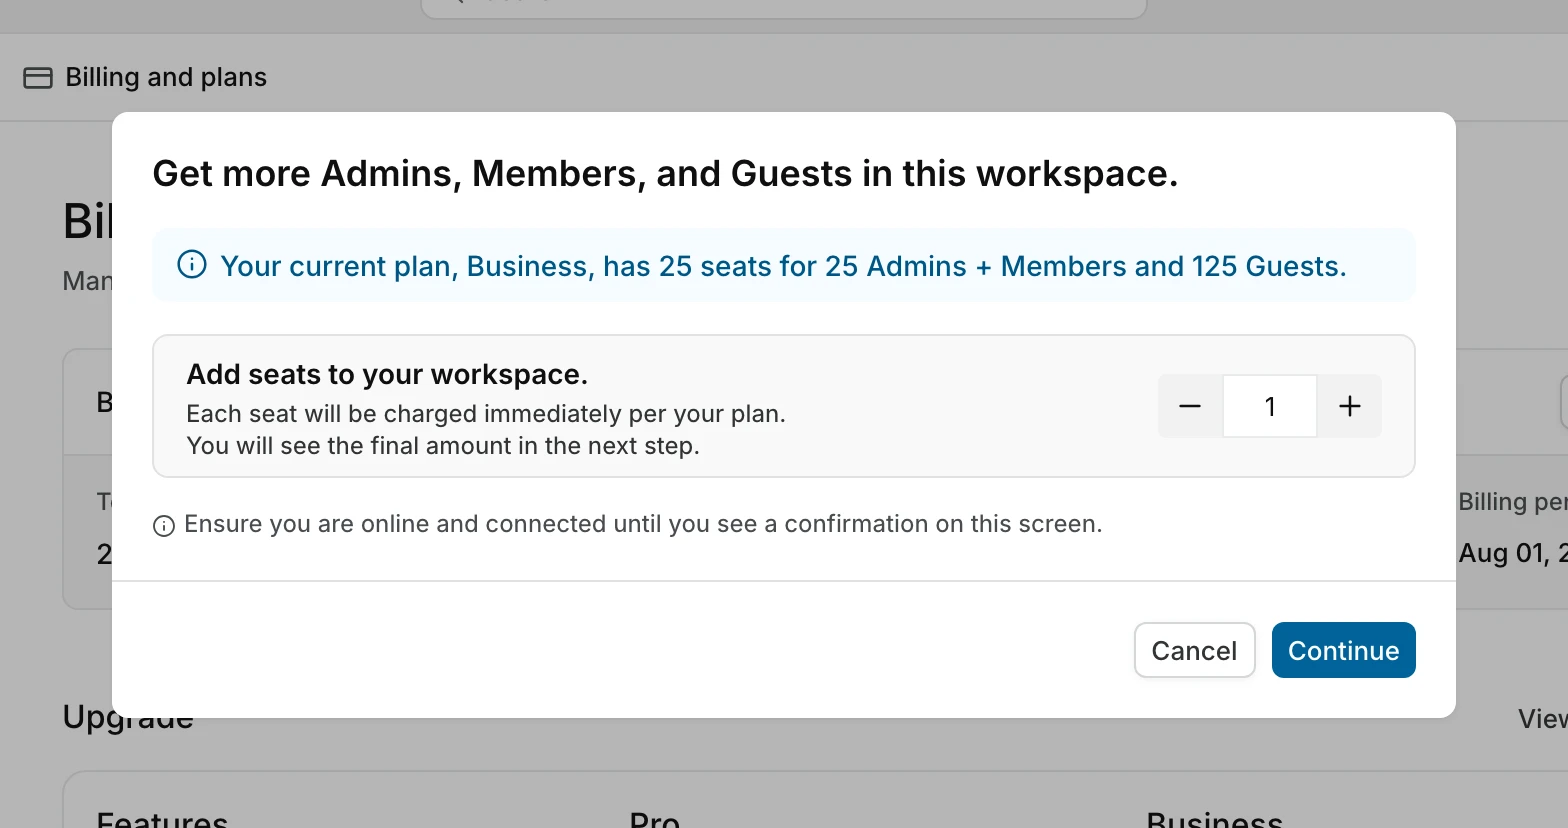
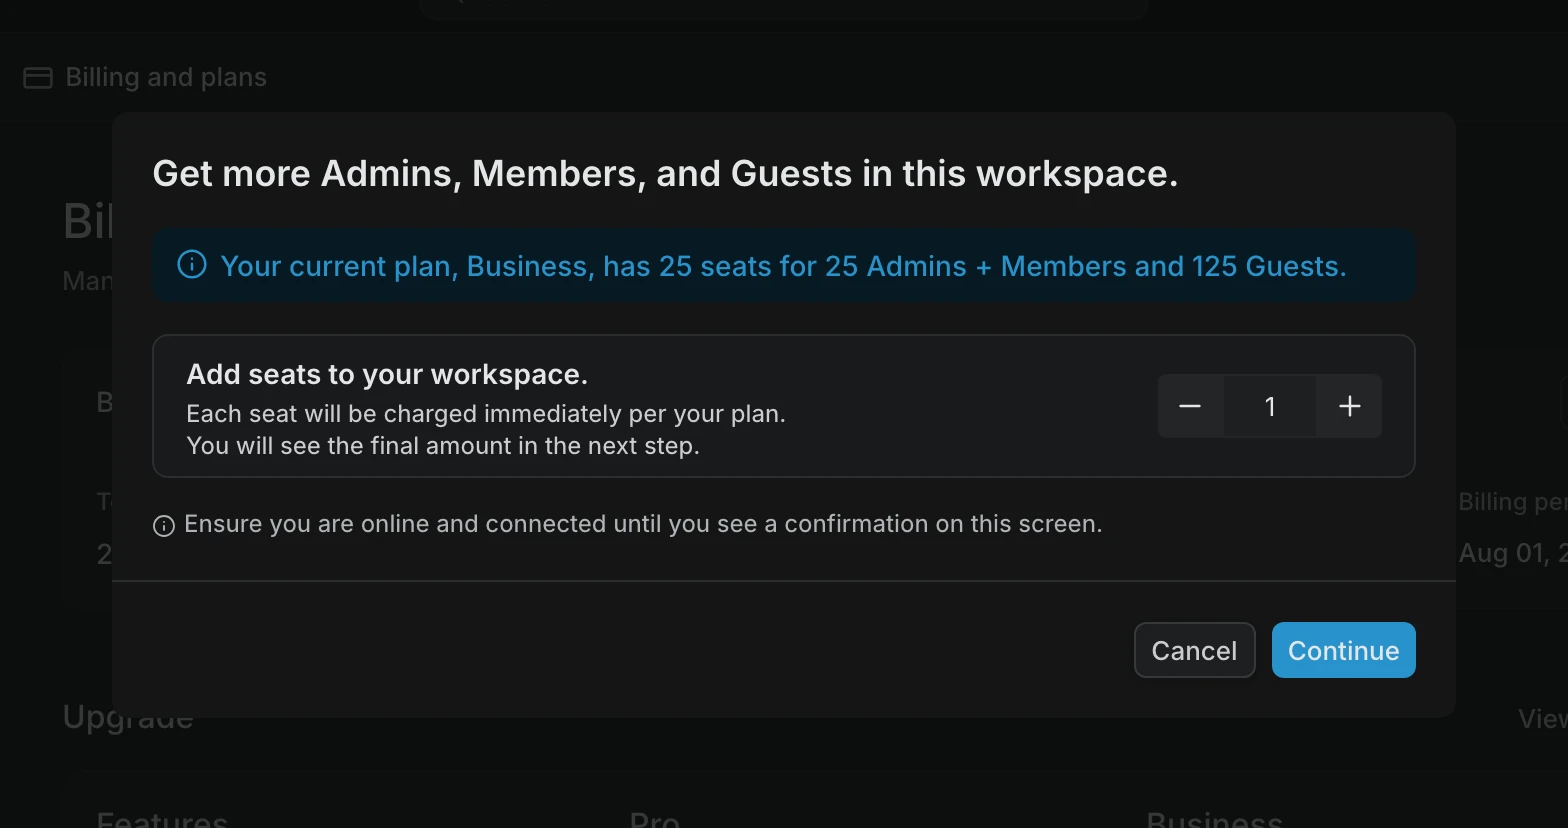
Click Continue, check the amount on the next step, and confirm.
Added seats are charged immediately, prorated against your billing period. The modal shows the final amount before you commit. For how proration and invoicing work, see How billing works.
WARNING
Stay online until the confirmation appears. Your instance has to reach Plane to complete the purchase. If you close the modal early, click Sync plan to pick the new seat count up.
Remove unused seats
Manage seats → Remove unused seats drops your purchased seats to the number in use. The Unused seats figure on the plan card is how many you release. It cannot remove a seat someone occupies, so remove the member first.
Other places to change seats
Enterprise Grid uses the same Manage seats control, in God mode rather than workspace settings.
If your subscription is invoice-paid, the app and the Prime portal both hide the seat controls. Ask your Plane contact to change seats.
Airgapped instances have no checkout to reach. Talk to your Plane contact, then delink the current license and upload the file they issue. The file is pinned to your Plane version has the steps.
You can also change seats in the Prime portal, which helps when you cannot get into the app. Click Sync plan afterwards.
INFO
If your workspace grows past its purchased seats, a card-paid subscription raises the seat count and bills the difference. An invoice-paid subscription cannot, so it fails until someone adds seats.
Change your plan
A license covers one plan. To move a workspace from Pro to Business, or back, you swap keys rather than edit the subscription.
- Buy a license for the new plan in the Prime portal.
- Delink the current key from the workspace. It drops to Free until the next step.
- Activate the new key on the same workspace.
- Cancel the old subscription from the billing portal so it stops renewing.
To move a whole instance to Enterprise Grid, activate the Enterprise Grid key from God mode. That releases every workspace key on the instance. See Activate Enterprise Grid.
Delink a license key
A key is bound to one workspace on one instance. Delinking releases that binding so you can use the key somewhere else. Do it before you move servers, rebuild an instance, or move a license to a different workspace.
Delinking does not cancel your subscription. Billing continues until you cancel it from the billing portal.
WARNING
The workspace drops to the Free plan as soon as you delink, and paid features stop working until you activate a key on it again.
From the app
Go to Workspace settings → Billing and plans, or Billing in God mode.
Click the ... button on the plan card, then Delink license key.
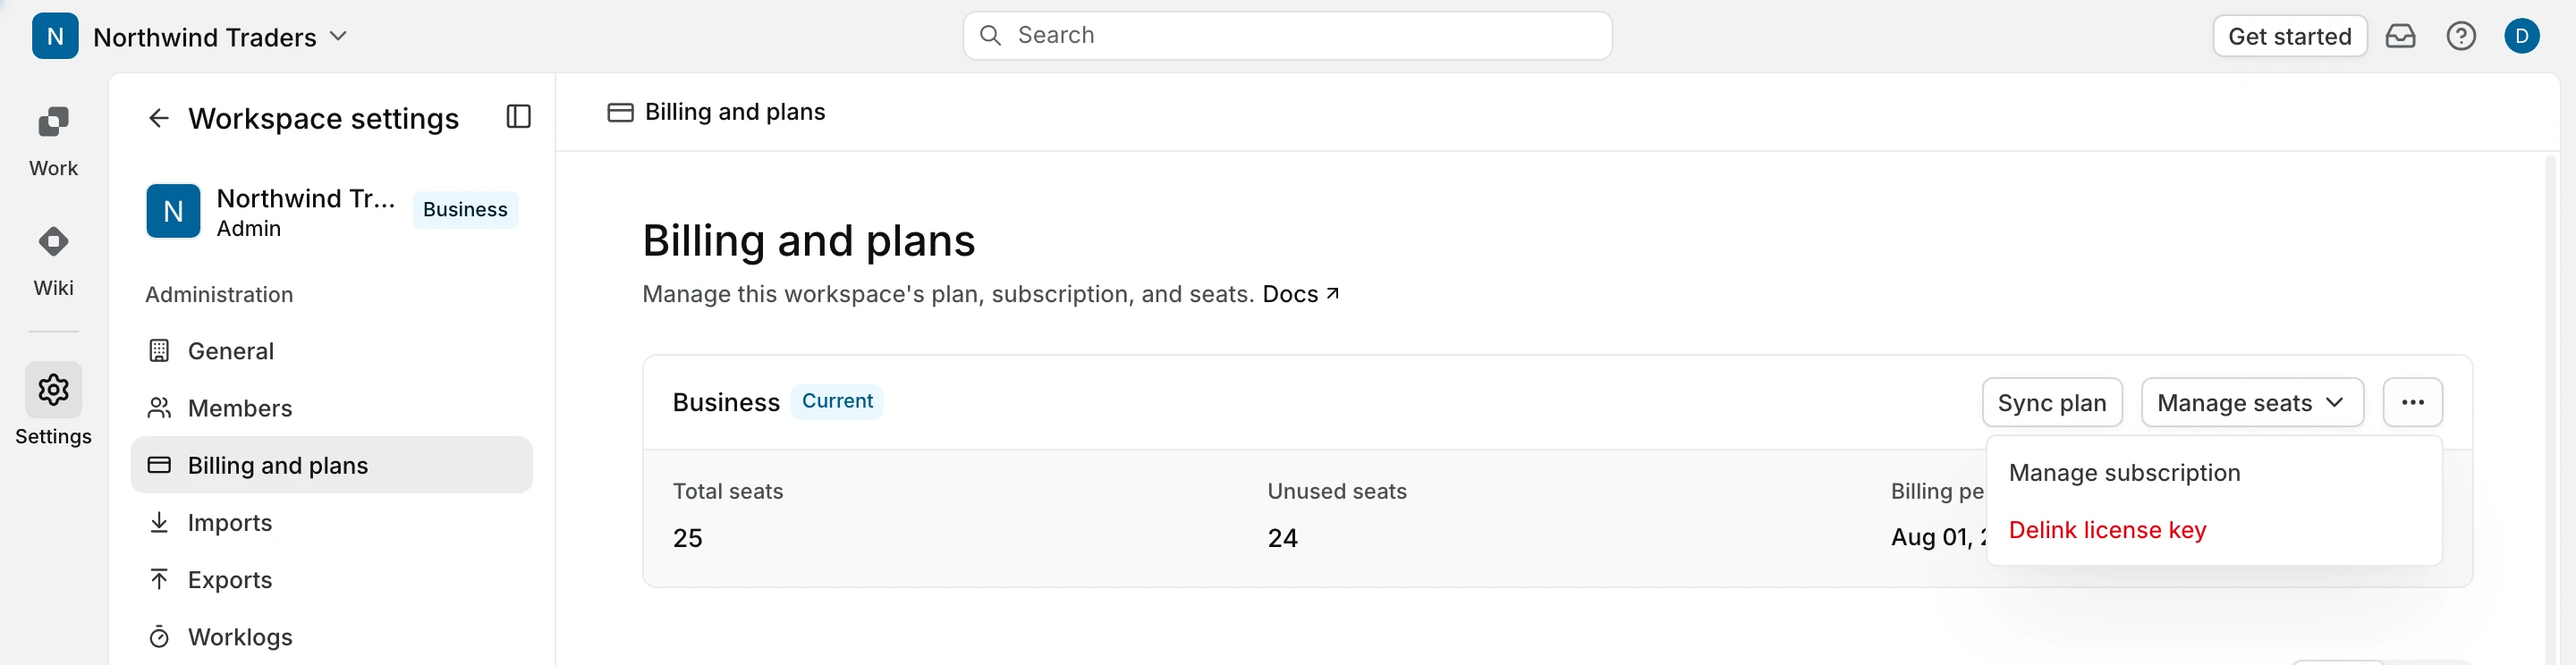
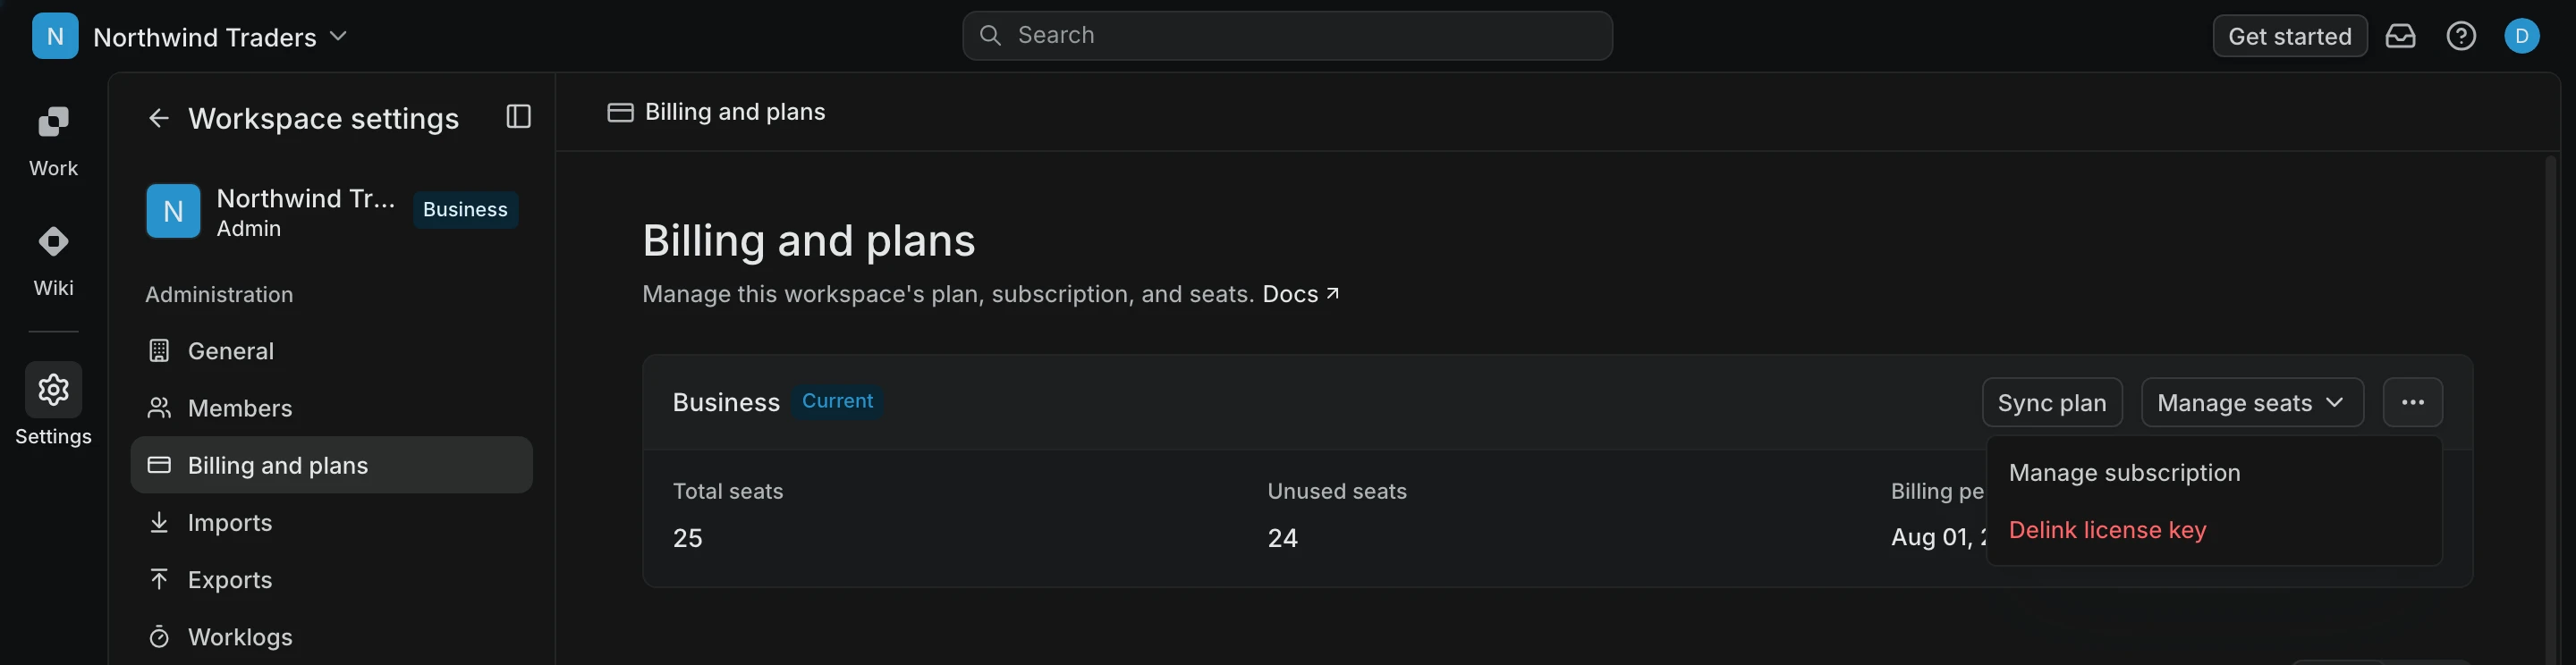
Confirm.
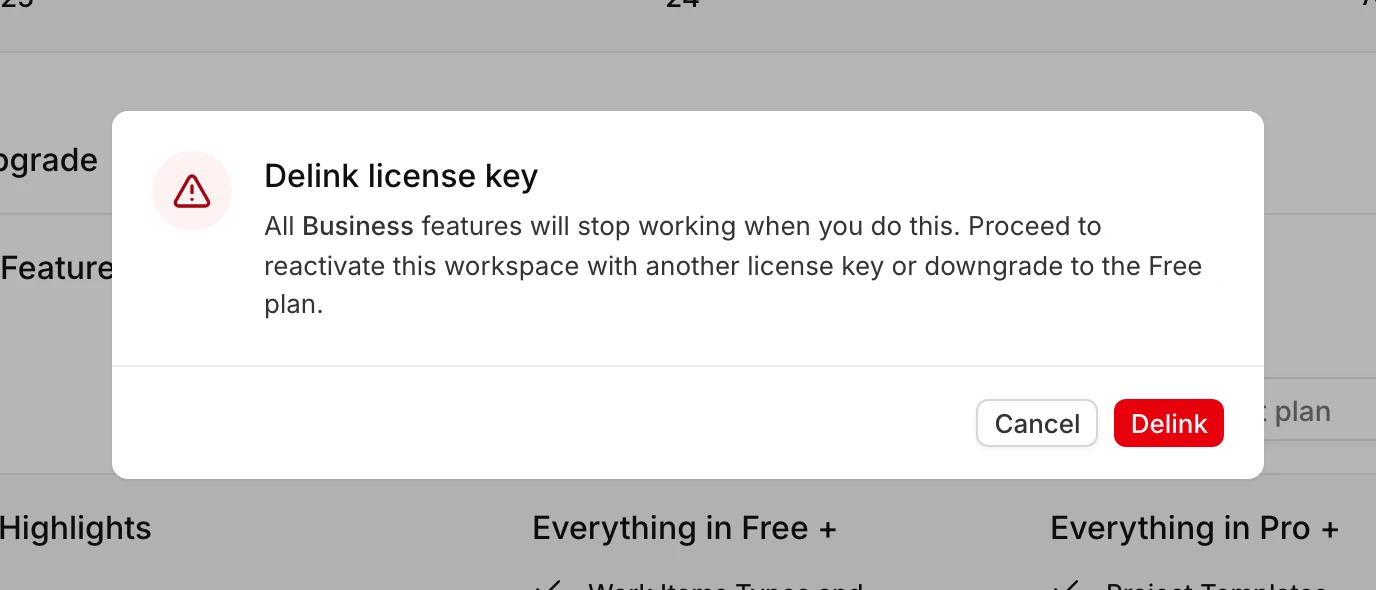
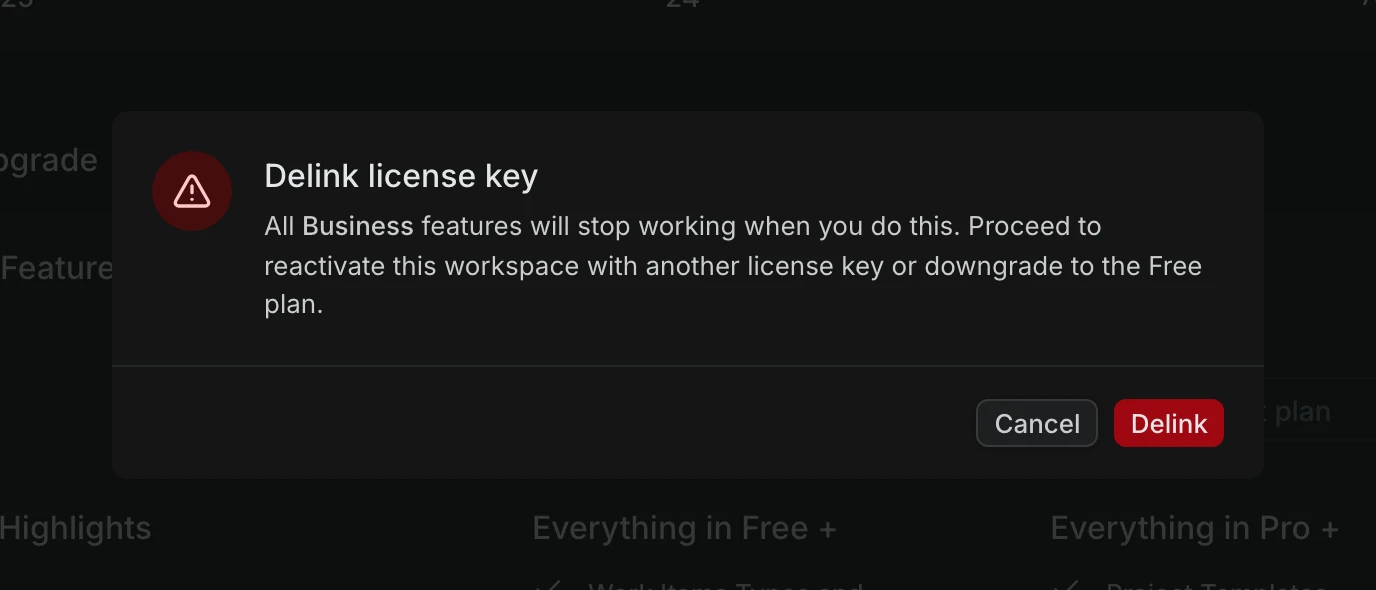
The key is now free to activate elsewhere. There is no cooldown and no limit on how many times you can do this.
From the Prime portal
Use this when the instance is gone and you cannot reach the app to delink from there, such as a decommissioned server or a rebuilt VM. Airgapped licenses have no portal delink. Delink from God mode instead.
Sign in to the Prime portal.
Open the license.
Click Delink license, then confirm.
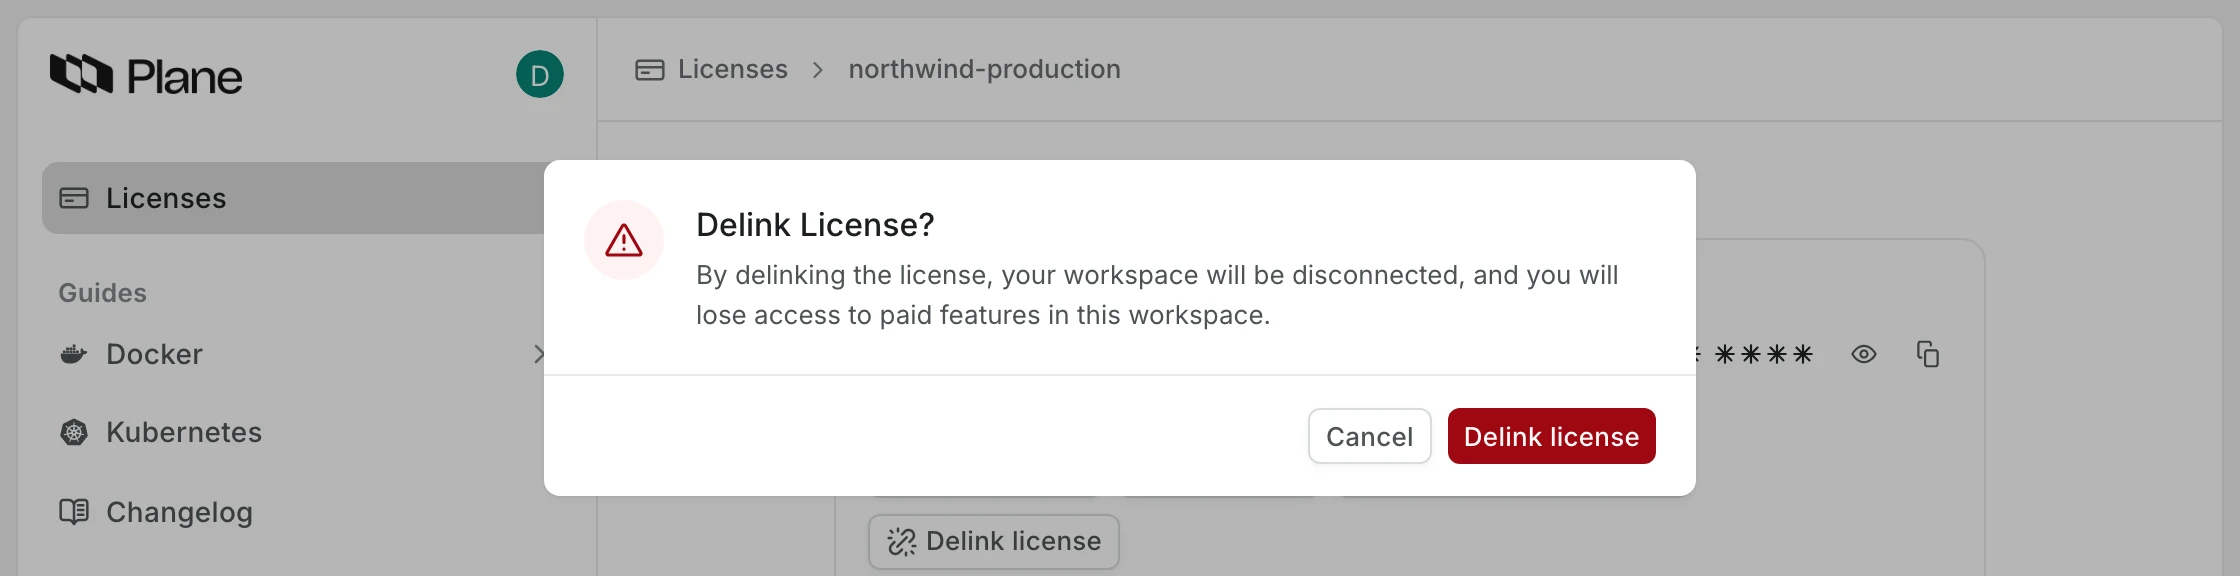
If the old instance is still running, it keeps the plan until its 7-day grace period runs out, then drops to Free.
Move to another server
Moving a licensed instance is a delink, then a fresh activation. A key binds to the instance it was activated on, so a new machine needs that binding released first. Skipping this gives you License already active for another instance for Pro and Business, or License is not active for this instance for Enterprise Grid.
- On the old instance, delink the key. If it is already gone, delink from the Prime portal instead.
- Stand up Plane on the new server and restore your data. Move Plane instance to a new server has the backup and restore commands for Docker installs.
- Activate the key on the new instance, following Activate Pro or Business or Activate Enterprise Grid.
Changing the domain of an existing instance does not need a delink.
On an airgapped instance, upload your license file on the new instance. Delink on the old one first if it is still running, so only one instance uses the license.
Payment method, invoices, and cancellation
A card-paid subscription lives in Stripe's billing portal. Two buttons open it:
- In the app, click the ... button on the plan card, then Manage subscription.
- In the Prime portal, open the license and click Billing portal.
Use it to change the card on file, update billing details, download invoices, or cancel. Invoice-paid subscriptions have no billing portal, and an airgapped instance cannot reach one. Ask your Plane contact instead.
Renewals and expiry
Renewals are automatic while the subscription is active. Click Sync plan to show the new period in the app. If a renewal payment fails, Stripe retries it and emails you. Failed payments has the retry schedule and says when the subscription is cancelled.
When a subscription ends, the plan card keeps showing the paid plan until the period runs out, then the workspace moves to Free. Your data stays, and paid features stop working.
Check your member count before that happens. A Free workspace allows 12 seats, counting members and pending invitations, and one that has more is blocked for every member, not only the ones past the limit. Workspace settings stays reachable, so an admin can remove members or activate a license to restore access.
To cancel, open the billing portal and click Cancel subscription. The workspace keeps its plan until the period ends. A cancelled subscription cannot be restarted, so buy a new license to continue after that. How billing works covers refunds.
Troubleshoot
- License errors, organized by the message you see.
- How self-hosted licensing works covers scope, timers, and seats.